How To Catch Loose Horses with a DIY Headcollar
Master the Bowline Knot: Make a DIY Horse Headcollar for Unexpected Situations
When it comes to horse management, unexpected situations are a part of the everyday routine. Whether you need to catch a loose horse or you’ve inadvertently forgotten your headcollar, having a few essential skills up your sleeve can make a world of difference. One such indispensable skill is the ability to fashion a makeshift headcollar using a simple bowline knot. In this blog post, we’ll break down step by step, the process of tying a bowline knot to create a DIY headcollar, a crucial tool in horse management. We’ve also included a detailed tutorial video from our YouTube channel, Intelligent Horsemanship, to guide you through the process.
Why a Bowline Knot?
The bowline knot is a simple yet sturdy knot that doesn’t tighten when pressure is applied. This makes it ideal for creating a headcollar that won’t harm the horse by tightening around its neck. Plus, it’s easier to tie than you might think!
Step by Step Guide to a DIY Halter/Headcollar
Here’s a quick guide to creating a makeshift headcollar using a bowline knot.
This is the rhyme to remember – ‘the rabbit goes down the hole, over the root and up the hole again’
Step One: Start by looping the short end of the rope over your horse’s neck and then hold it in your left hand, make sure it is the end without a clip.
Step Two: Create a small over-hand loop in the right hand side of the rope close to the horses neck. This small loop is the ‘hole’ in our rhyme.
Step Three: Pass the end of the rope (the rabbit) down through the loop (down the hole), creating a loose knot.
Step Four: Now, bring the short end of the rope over the long part of the rope (over the root).
Step Five: Finally pass the end of the rope back up through the loop (up the hole again). Pull it tight and you’ve got a bowline knot!
Step Six: Adjust the size of the loop to fit the horse’s neck (not too tightly) and ensure it’s comfortable.
Step Seven: Now it time to make the DIY headcollar – pull some of the long end of the rope through the loop around the horses neck (created by the bowland knott)
Step Eight: Hook the rope around the horses nose to act as a noseband… and as if by magic you have a headcollar!
With some practice, you’ll be tying perfect bowlines in no time, ready to create a makeshift headcollar whenever the need arises.
This technique ensures the safety of both yourself and the horse, making it a fundamental addition to your horsemanship toolkit.


Expand Your Horsemanship Skills with Intelligent Horsemanship
Beyond the bowline knot, there’s a world of horsemanship skills waiting for you to explore. From groundwork to problem-solving, we’ve got you covered, even in the most challenging situations. Consider becoming a member of Intelligent Horsemanship today. Our membership program offers a treasure trove of invaluable resources, tutorials, and expert guidance on a range of essential horsemanship skills.
To complement your newfound knot-tying skills, be sure to check out our long lines in the shop as well as Dually halters for your non-emergency horse catching needs.
Remember, safety and knowledge go hand in hand, and we’re here to guide you every step of the way.
You Might e Interested In
-
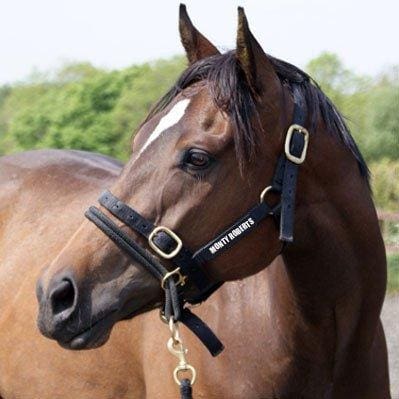
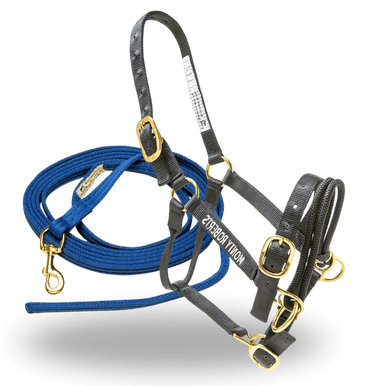
 Monty Roberts Dually Halter BEST PRICE FREE UK Postage FREE Instructional DVDPrice range: £44.95 through £59.95
 -
Pair of 30ft Long Lines Weighted on Tail End£45.95
-
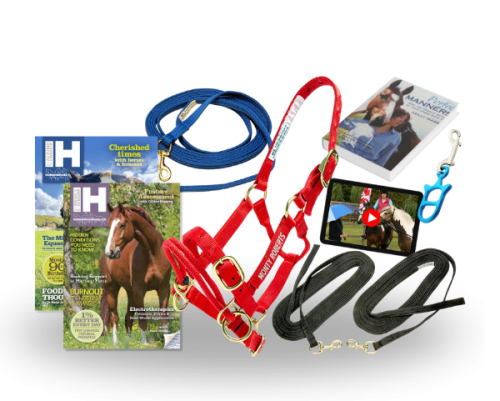
Product on saleDually & 17ft Lead Line BundleOriginal price was: £77.95.£72.50Current price is: £72.50.
-
Product on saleIH Starter Kit + Magazine MembershipOriginal price was: £222.90.£205.50Current price is: £205.50.
-
Product on saleIH Starter KitOriginal price was: £163.40.£149.95Current price is: £149.95.
-
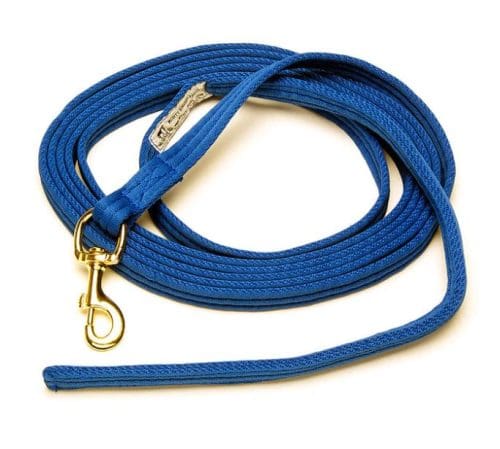
17ft Lead Line – Blue£25.00
-
Giddy Up RopePrice range: £14.99 through £19.99
-
Saddle Strap Pro Supergrip£16.00
-
Idolo Tether Tie including Double Clip£19.50